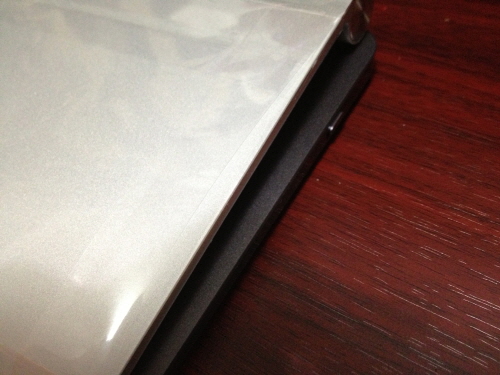
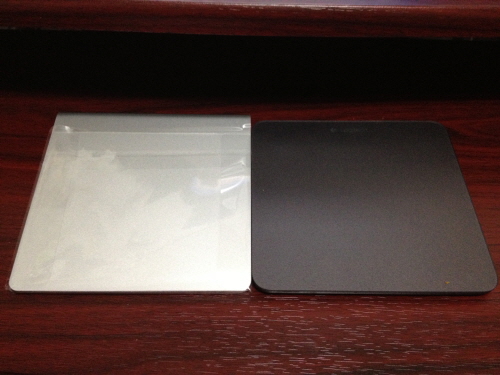
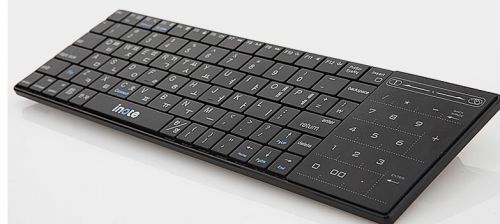
깜짝 놀랐다...
오른쪽 시프트키가 없는것이다...
터치패드 윈도우 맥 전환키는 정말 획기적이였는데...
- Posted
- Filed under 쇼핑왕
깜짝 놀랐다...
오른쪽 시프트키가 없는것이다...
터치패드 윈도우 맥 전환키는 정말 획기적이였는데...
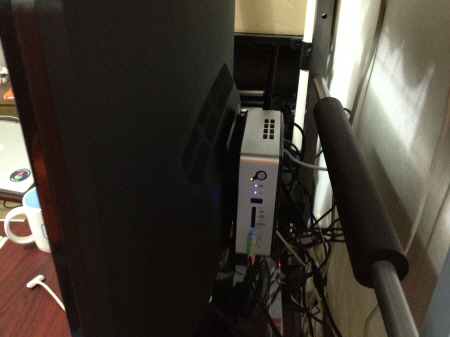
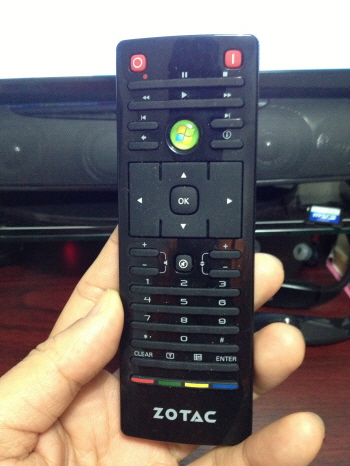
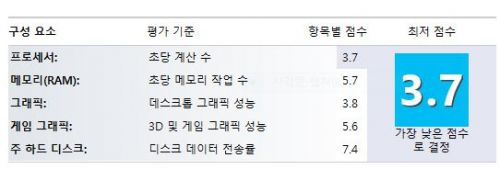
모니터 뒤에 딱 붙는다 하지만 돈 덜주고 약간 큰거 사도 되겠다. 리모컨 퀄리티가 생각보다 좋다 윈도우8점수 : 하드 디스크 점수가 높은건 SSD이기때문
애플 블루투스 키보드 윈도우 드라이버
퍼온거임
#set ( $a = “Velocity” )
-
## This is a single line comment.
#* This is a single line comment. *#
-
$customer.getAddress()
$purchase.getTotal()
$page.setTitle( “My Home Page” )
$person.setAttribute( [“Strange”, “Weird”, “Excited”] )
-
${mudslinger}
${customer.Address}
${purchase.getTotal()}
-
#set( $monkey = $bill ) ## variable reference
#set( $monkey.Friend = "monica" ) ## string literal
#set( $monkey.Blame = $whitehouse.Leak ) ## property reference
#set( $monkey.Plan = $spindoctor.weave($web) ) ## method reference
#set( $monkey.Number = 123 ) ##number literal
#set( $monkey.Say = ["Not", $my, "fault"] ) ## ArrayList
#set( $monkey.Map = {"banana" : "good", "roast beef" : "bad"}) ## Map
-
ArrayList의 예제인 $monkey.Say는 $monkey.Say.get(0)과 같은 식으로 배열의 바로 필요한 열의 값을 가져올수 있다. Map의 예제인 $monkey.Map은 $monkey.Map.get(“banana”) 혹은 $monkey.Map.banana와 같은 방식으로 값을 가져올 수 있다.
-
#if( $foo < 10 ) <strong>Go North</strong>
#elseif( $foo == 10 ) <strong>Go East</strong>
#elseif( $bar == 6 ) <strong>Go South</strong>
#else <strong>Go West</strong>
#end
-
#foreach( $product in $allProducts )
<li>$product</li>
#end
“$allProducts”는 Vector, HashTable, Array 의 변수형이 사용될 수 있다.
-
HashTable의 경우 다음과 같은 방법으로 값을 출력할 수 있다.
<ul>
#foreach( $key in $allProducts.keySet() )
<li>Key: $key -> Value: $allProducts.get($key)</li>
#end
</ul>
-
해당 파일 안에 VTL문법이 있더라도 파싱 되지 않고 문자열로 인식하게 된다.
#include( "one.txt" )
#include( "one.gif","two.txt","three.htm" )
#include( "greetings.txt", $seasonalstock )
-
#parse 지시자는 Include와 동일하지만 Velocity Template Engine이 파싱을 하여 그 결과물을 출력한다는 점이 다릅니다
Count down.
#set( $count = 8 )
#parse( "parsefoo.vm" )
All done with dofoo.vm!
-
#stop 지시자는 현재의 줄에서 템플릿 파싱을 중단한다. 디버깅시 유용하게 활용될수 있다.
#stop
pom.xml 에 dependency 추가
<dependency>
<groupId>org.apache.velocity</groupId>
<artifactId>velocity</artifactId>
<version>1.6.2</version>
</dependency>
velocity를 먼저 사용하기 위해 기존 InternalResourceViewResolver에 order를 추가하고 벨로시티 관련 설정 추가
<beans:bean class="org.springframework.web.servlet.view.InternalResourceViewResolver">
<beans:property name="prefix" value="/WEB-INF/view/" />
<beans:property name="suffix" value=".jsp" />
<beans:property name="order" value="2" />
</beans:bean>
<beans:bean id="velocityConfig"
class="org.springframework.web.servlet.view.velocity.VelocityConfigurer">
<beans:property name="resourceLoaderPath" value="/WEB-INF/velocity/" />
</beans:bean>
<beans:bean id="viewResolver"
class="org.springframework.web.servlet.view.velocity.VelocityViewResolver">
<beans:property name="suffix" value=".vm" />
<beans:property name="order" value="1" />
</beans:bean>
* 테스트
control에 추가
@RequestMapping(value = "/hello", method = RequestMethod.GET)
protected ModelAndView handleRequestInternal(HttpServletRequest request,
HttpServletResponse response) throws Exception {
ModelAndView mav = new ModelAndView();
mav.setViewName("hello");
mav.addObject("title","hello");
mav.addObject("body","hello");
return mav;
}
/WEB-INF/velocity/hello.vm 작성
<html>
<head>
<title>$title</title>
</head>
<body>
$body
</body>
</html>